UPDATE 2025: since buying a Creality K1C, this printer now sits idle. I keep it only as an emergency backup in case the K1C fails. The K1c is *so* much faster and, because it is enclosed, prints beautifully in ASA and other filaments; there’s just no reason to use the Diggro anymore. Nothing wrong with it, it’s just been surpassed.
Although I don’t do a huge amount of 3D printing, I periodically find the ability to print something incredibly useful, particularly for anything custom or low-volume.
I had been using a Diggro Alpha 3 I bought in 2020 for a long time and it continues to serve well. It is a re-branded Longer LK4 Pro or Alfawise U30 Pro (see here). It competes with the Ender 3, has a 220x220x250mm build volume, Marlin firmware, and comes standard with a variety of features that are options for the Ender like a filament run-out detector so your print isn’t ruined if the filament runs out or breaks mid-print; it can also recover from an unexpected power outage. What really stands out is its very nice touch-screen LCD user interface. Manuals and firmware are available from Longer here. I use Cura as the slicer.
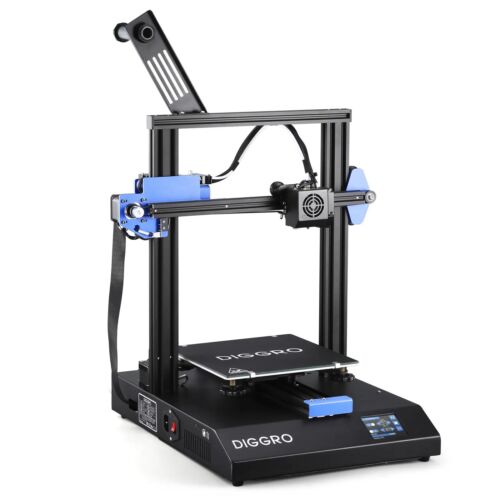
Having had a good experience with Diggro, I bought their newer Alpha 5 in 2023. It is similar to the Alpha 3, but offers several incremental enhancements including fully enclosed electronics, UL listed Meanwell PS, a convenient place for the filament spool. In theory, it supports automatic bed leveling, but I could never get that function to work properly. I level it by hand and once leveled, it stays level for many prints; the use of a flexible magnetic bed sticker really helps in that regard.
Through experimentation, I’ve learned a number of things that make 3D printing much nicer:
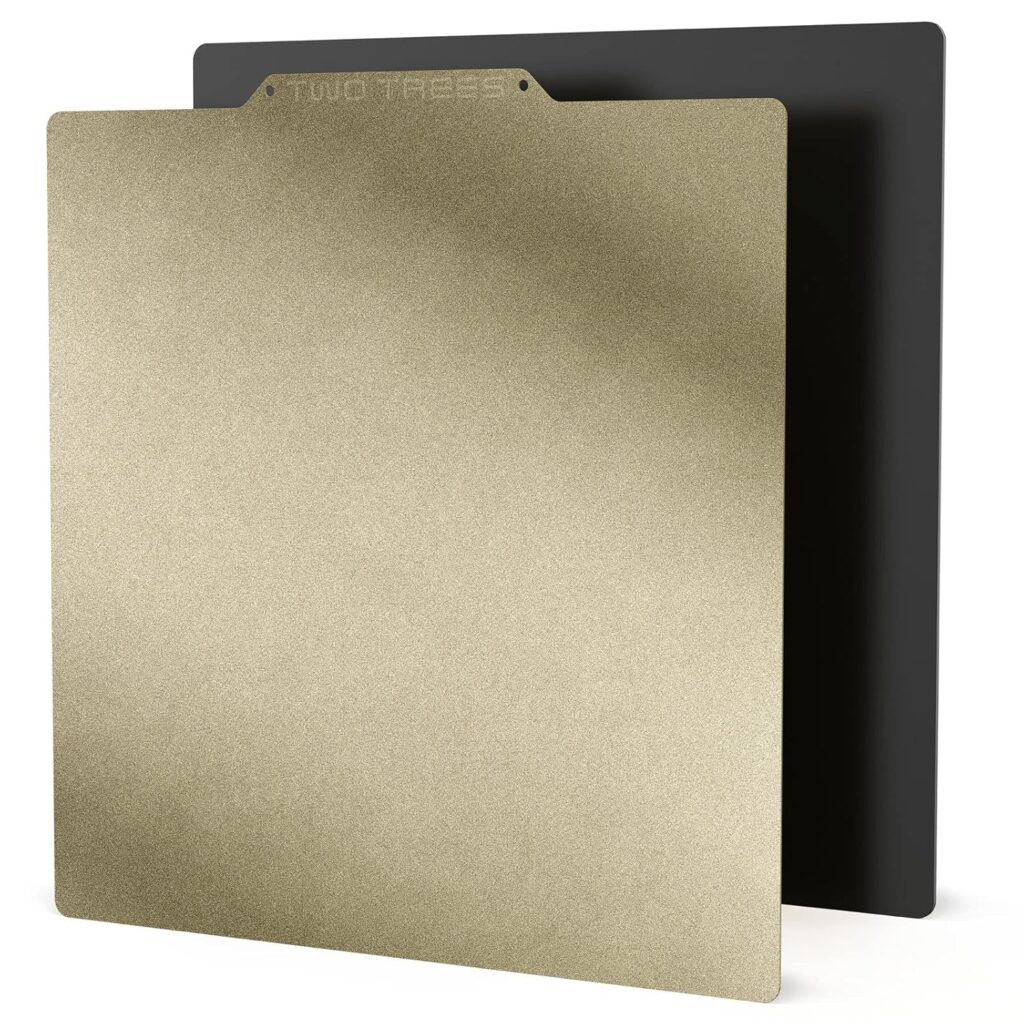
- Use a flexible magnetic print bed. I bought a cheap one from BefenyBay for $13.59 on amazon and it works great. The magnetic feature lets you remove your print surface without messing up the leveling and the flexible surface makes it trivial to remove your print (just bend it and it peels right off – no more putty knives). Even better, PLA prints seem to just stick to the slightly textured surface without any painters tape or hairspray. This makes printing *soo* much better. The downside of this particular bed is that the surface is polycarbonate rather than PEI which means it can be damaged if the hot end comes down too far, pushing into the surface. A PEI surface like this is better.

- Dry your filament before you print. Most filament absorbs moisture and when it does, it causes all sorts of problems: the filament becomes brittle and breaks easily; the prints become covered with stringy fibers, overall results are poor. Fortunately, there are low cost filament driers where you can place a roll of filament and it will use heated air to dry it. I like the Eibos Easdry which has a built in humidistat.
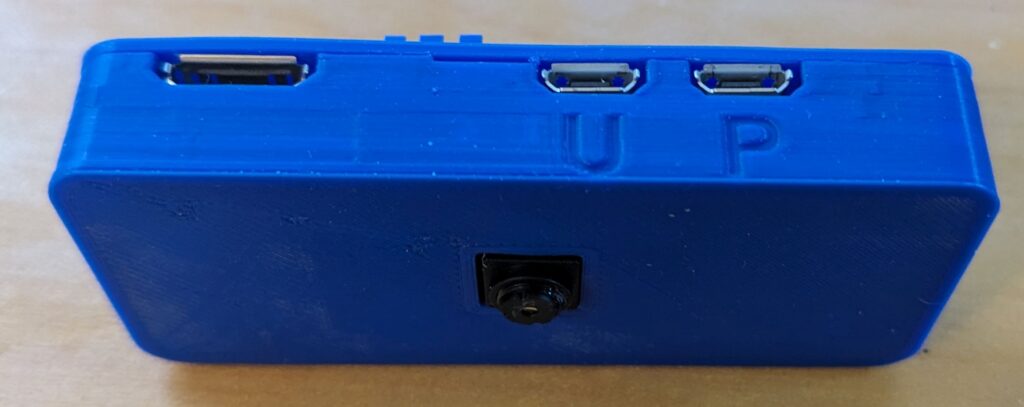
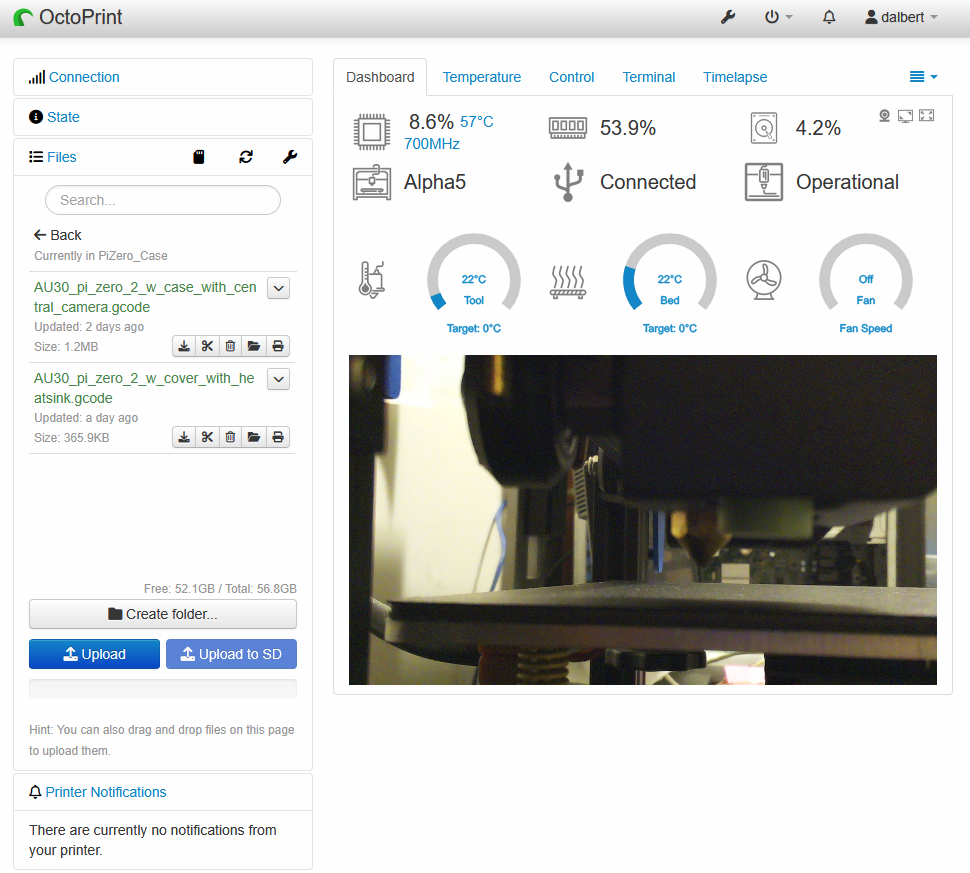
- Octoprint – I run octoprint on a Raspberry Pi Zero 2W with an old Rpi camera. You must use at least a Zero 2W (not the original Pi Zero W). I tried RPi cameras version 1.3 and 2.0 and both worked great. The RPi connects to my wifi and to the printer. It provides a web interface to monitor and control the printer including uploading files, starting/stopping/pausing prints, monitoring the printer temperature, controlling the printer, and most importantly: monitoring the print remotely via the camera so if things go awry, I can easily abort the print. Octoprint basically network-enables your printer and is an essential feature IMO. You’ll never go back to running back and forth between your computer and printer with a uSD card. Octoprint requires a Raspberry Pi, a camera (strictly speaking, the camera is optional, but it’s so useful I consider it essential), a uSD card, a micro-to-B USB cable (my printer’s USB connector is type B), and a suitable power supply; I use a cheap 15W USB phone charger (make sure it is ETL or UL listed) and a micro-USB cable. The case is printed.
- I continue to use (and like) Alibre as my 3D modeling CAD software.