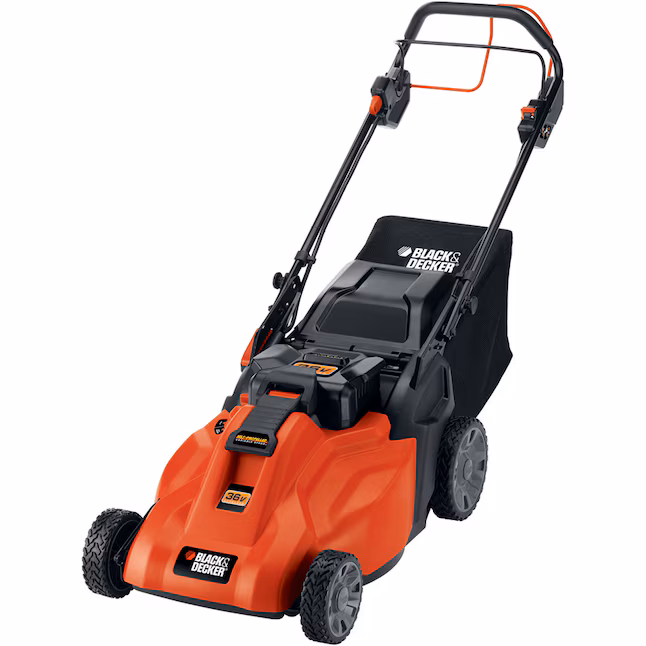
I’ve had my Black and Decker self-propelled electric lawn mower for a LONG time; I was an early adopter of cordless electric mowers and I love them: quiet, no gas fumes, good for the environment, virtually no maintenance. The only issues are: 1) it’s only 19″ wide so you have to do a bit more walking and 2) the lead acid battery is HEAVY (29lbs) and you need to remove it and charge it after each use.
Flash forward a decade or so and my lead acid batteries (I had two) have finally died; they won’t take a charge anymore. The electric lawn mower world has moved on to Lithium Ion batteries and you can’t buy a replacement anymore.
So the question is: fix or replace?
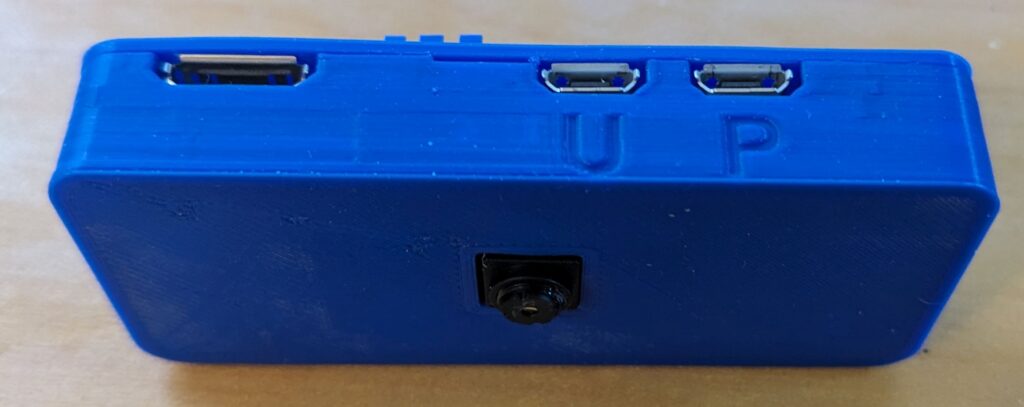
The battery is in a plastic shell that brings out the connectors, makes it water resistant, and keeps everything neat. There is an Anderson PowerPole-style connector to deliver power to the mower (high current) and a smaller Anderson polarized connector used for the (lower current) charger. The plastic shell is held together by 5 big screws and 4 small screws which I easily removed with a flat-head screwdriver.
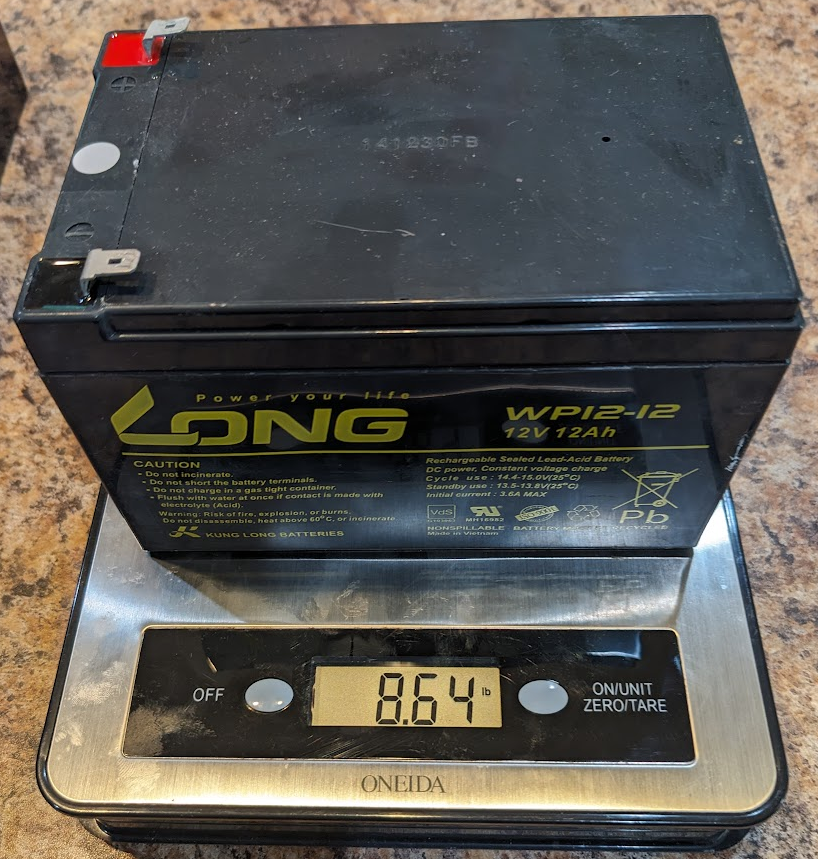
Inside were 3 Kung Long WP12-12 sealed lead acid (SLA) batteries (12V/12Ah each) connected in series to make 36V/12Ah. The batteries were dead, one was even cracked open. The batteries were taped together and arranged in a T-shape with the long side vertical; each battery is 5.94 x 3.86 x 3.74″ and weighs 8.65 lbs. They were a bit expanded when I removed them and they measured (by caliper) 6.05″ x 3.882″ x 3.645″. They’re going to the recycling facility.
The options then are to:
Buy a new mower ($350-$600)
I’m a big fan of not throwing stuff out; it’s wasteful and bad for the environment. Moreover, most new mowers use 40V batteries that are only 3-5Ah (Black & Decker) to 6Ah (Ryobi). That’s not going to be nearly enough. The old 12Ah batteries were barely enough to do the whole lawn. Unsurprisingly, reviews of many new battery mowers say that battery life is too short.
Replace the SLA batteries ($83)
MightyMax maxes 12-12 batteries that are almost the same size and cost $27.67 each on amazon. This would be easiest, but then I’d still have that heavy battery pack and as I’ve gotten older, my back and I are much less fond of dragging 30lb batteries around.
Replace the SLA batteries with Lithium batteries
This I like. Lithium batteries have a much higher power density and so I can get similar power at dramatically lower weight. I know I can get Lithium Ion (LiIon) batteries that will easily fit in the shell, but I’d prefer LiFePO4 batteries which are similar, but safer and less prone to fire. There is quite a bit of space inside the battery shell; the challenge then is to find the right lithium battery.
One option would be to use three 12V/10Ah LiFePO4 batteries that are similarly sized such as the Goldenmate LFP-1210 (3 would cost $91.50 at amazon). These are 2.65lbs each and the manufacturer indicates 3 can be safely charged in series. All three batteries would weigh less than one of the SLA batteries. Goldenmate also has LFP-1212 (12Ah, $108 at amazon) and there are 12V/15Ah LiFePO4 batteries such as Sefepoder SP1215 (3 would cost $106 at amazon). Three of these batteries would weigh 10.5lbs so still a huge improvement over the SLA batteries plus more capacity! My main concern with any of these (aside from them being Chinese produced) is charging: I’d need a 36V (43.8V) LiFePO4 battery charger (at least another $30–$62 the more expensive one claiming to be being UL listed – also Chinese, I’m skeptical).
There are many 36V 10-14Ah lithium batteries available for eBikes and eScooters; many come with chargers. The challenge will be to find one that fits comfortably. I’ll post more details here once I’ve selected a battery solution.
Attempt #1
I bought three TCBWorth 12V/12Ah LiFePO4 batteries for $30 each. They are spec’d at L=5.98″ D=3.86″ and H=3.78″ and even though that is *very* close to the original batteries, and they looked identical, they were just a little too big; The main problem dimension seems to be the height where the extra 0.1″ x 2 would not allow them to fit in the enclosure without deforming it so it would not close. I am surprised at how tight the tolerance is on the B&D enclosure, but it wouldn’t close with those batteries inside…and that’s without any double-sided tape binding them together! It tried cutting out some of the ribs in the plastic enclosure to make more room, but it wasn’t enough.
Attempt #2
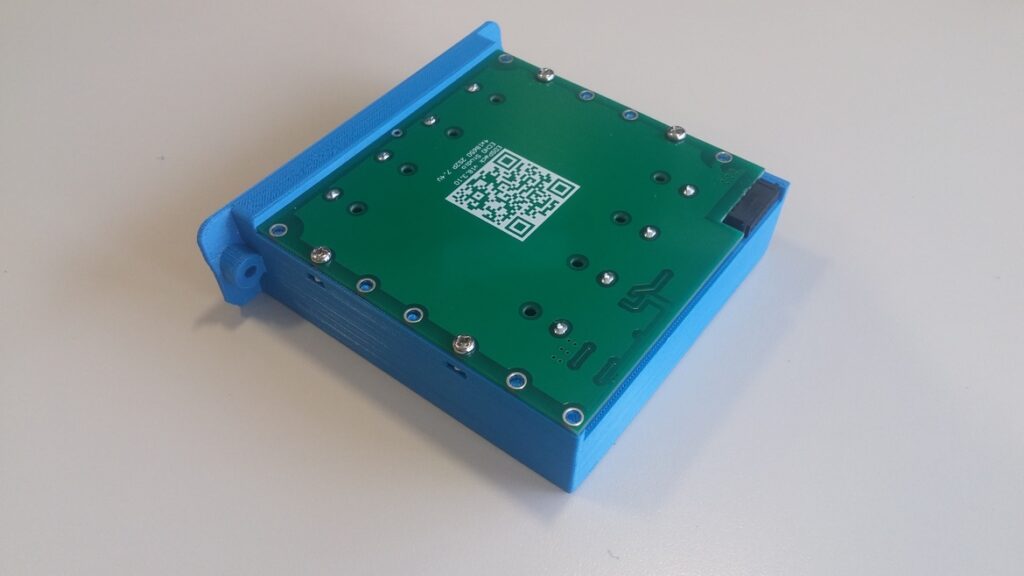
I bought three XZNY “compact” 12v/12Ah batteries for $38 each. These are advertised as being 5.95″ x 2.56″ x 3.7″. These fit perfectly; they are much smaller than the original batteries and I filled the spaces left with foam blocks so the batteries are securely held in place. I re-assembled the battery enclosure and everything feels solid and secure. The whole assembly now weighs 11lbs; a huge improvement over the nearly 30lb original lead-acid battery pack.
Charging
Most LiFePO4 battery chargers I can find supply at least 6A+ during a fast charge phase. It’s also very hard to find any that are UL/ETL/TUV certified for under $150. Because my use-case is to mow the lawn and then put the battery on a charger and leave it there until the next week, I’d rather charge them gently (2A or less) and perhaps not to 100% charge.
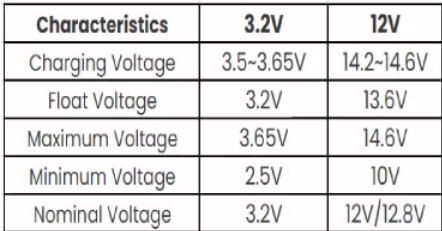
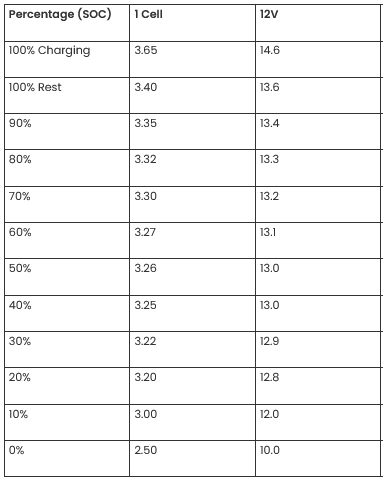
LiFePO4 batteries follow a similar charging strategy to sealed lead acid (SLA) batteries with a constant current fast charge phase followed by a constant voltage float (maintenance/absorbtion) charge phase. Most manufacturers suggest the following:
Since I have 3 batteries in series, these numbers would be multiplied by 3, so the optimal float charge voltage would be 13.6 x 3 = 40.8 volts and the optimal (faster) charging voltage would be between 42.6 and 43.8 volts. Most commercial LiFePO4 battery chargers use the upper limit (43.8 volts) to achieve a fast charge cycle.
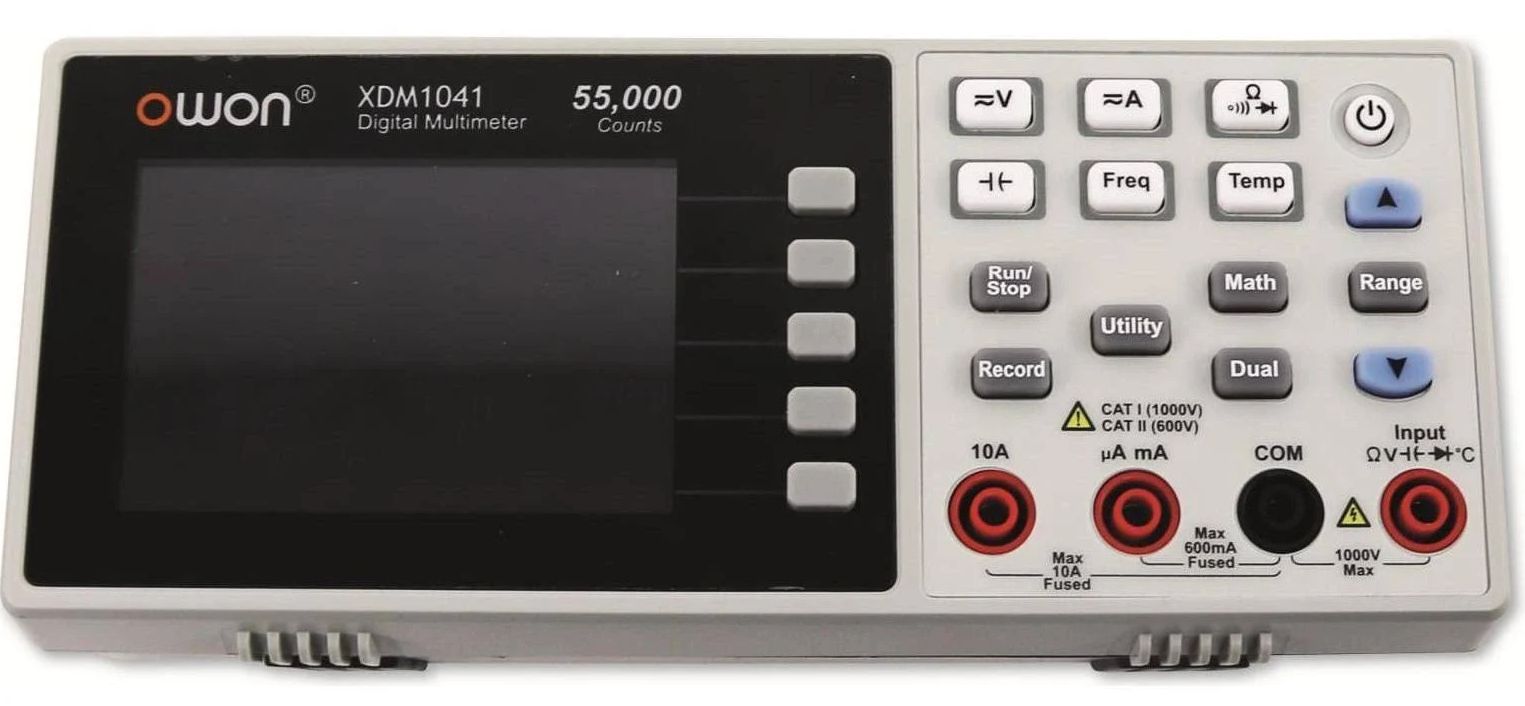
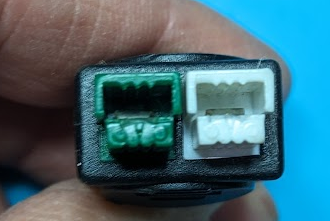
The charging terminals on the battery enclosure look like Anderson Powerwerx ACP-15). I may eventually find a 2A or less LiFePO4 battery charger and replace its output connector with Anderson powerpoles, but first, I’m testing the original Black and Decker SLA charger to see if it will do the job. It is a UL listed trickle charger that already has the Anderson connectors and charges the battery very slowly. If it charges to a voltage that is close enough to full but doesn’t overcharge, then I will use it.
A voltage vs. capacity chart is here (again, multiply by 3):
So if the SLA charger charges the battery to 13.6 x 3 = 40.8 volts, it will be at 100% charge. Even 13.5 x 3 = 40.5 volts = 95% charge would be fine. On the first charge, the B&D charger charged the battery pack to 40.75 volts (13.6 volts/battery) which is pretty much perfect. The charger ended with a blinking red light (charge failed), but otherwise seems to have done an excellent job.
I’ll document more results using the B&D charger and the LiFePO4 battery pack after I’ve run the mower through several charge/discharge cycles.
Update Oct 2025: so far, it works great: I can mow the whole lawn on a single charge, the battery is delightfully light, and I didn’t have to toss the entire mower (environmentally bad and costly) just because the battery packs are no longer available…very happy with this hack!