I’ve posted previously about the Libre ROC-RK3328-CC (aka Renegade) which is a single-board computer that is largely compatible with the Raspberry Pi, including connector and form factor, but offers some nice advantages (4GB, GbE, USB 3.0, fanless) and a very good price ($55 with heat sink on amazon).
Unfortunately, I’ve found that uSD cards as the primary storage medium for any SBC (including Raspberry Pis), eventually become unstable and need to be reformatted and re-flashed (losing anything that was on them). The problem is particularly bad for devices that are subject to power outages or always on or often writing to things like logs or database entries.
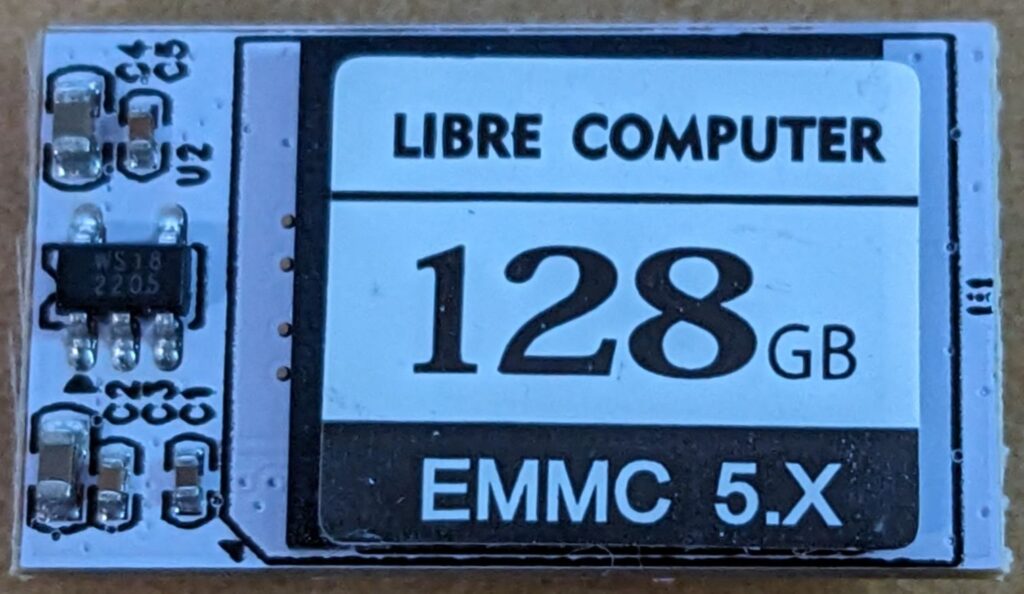
The recommended solution is eMMC storage, which fortunately, the Libre Renegade supports via a socket on the bottom of the board. eMMC is both faster and more reliable, intended to be used as a disk. I bought a couple of 128GB eMMC 5.x modules on amazon for $30 each (no longer available there, but seem to be available for $40 each here).
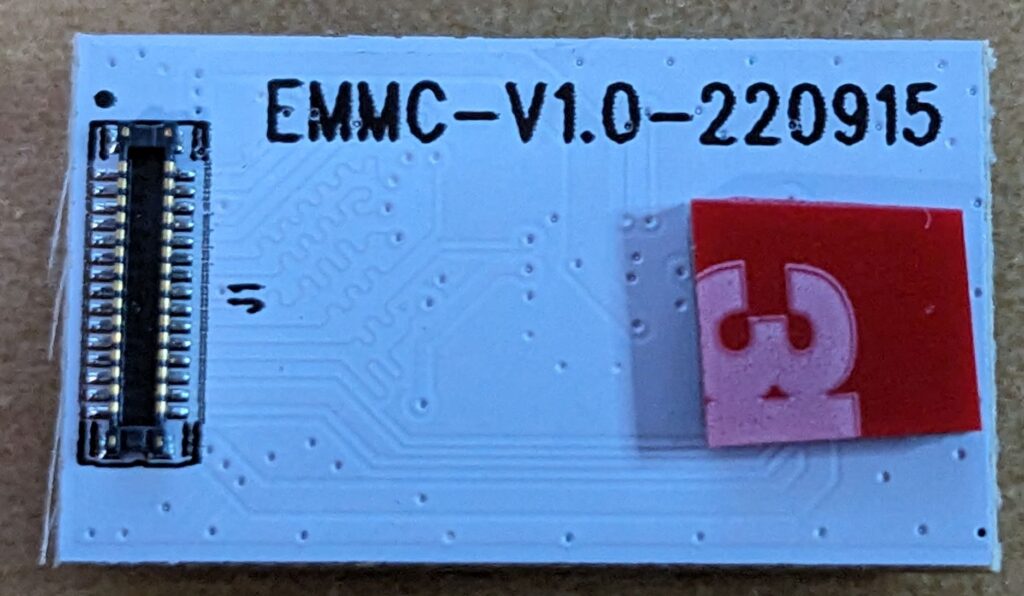
The modules plug into a connector on the bottom of the Renegade, but they don’t have a screw hole to secure them to the board properly so I used a tiny (0.25″ square) piece of 3M VHB 4611 double-sided tape to secure them a little better. This is small enough that it holds the board securely but it can still be peeled away without damaging either board. To install, position the connector first and snap it in place, then push down on the other end that has the double-sided tape to stick it securely to the Renegade main board.
The next issue was getting an OS onto the module. If you have a linux laptop/desktop, the process is fairly straightforward and can be done using the Renegade itself and an included USB A-A cable. Unfortunately, it can’t be done that way using a Windows PC; there is no Windows driver for the USB OTG socket on the Renegade. I also tried using the Libre LEFT tool, following the Windows process (described here), but I couldn’t get that to work.
So I used the following process:
- Downloaded a pre-built OS image for the ROC-RK3328 under Downloads from here.
- Used Balena Etcher to flash the image to a uSD card
- Booted the uSD card on the Renegade
- Confirmed that the Renegade could see the eMMC and that it was mmcblk1 (the uSD card should be mmcblk0):
lsblk - Downloaded and installed the libre flash tool onto the uSD card to flash a bootloader onto the eMMC. See instructions here. (Note: this isn’t necessary, but it also doesn’t hurt):
git clone https://github.com/libre-computer-project/libretech-flash-tool.git
cd libretech-flash-tool
sudo ./lft.sh bl-flash roc-rk3328-cc mmcblk1
y - Downloaded a ubuntu OS image onto the uSD card:
wget "https://distro.libre.computer/ci/ubuntu/22.04/ubuntu-22.04.03-preinstalled-server-arm64+roc-rk3328-cc.img.xz"
unxz -v ubuntu-22.04.03-preinstalled-server-arm64+roc-rk3328-cc.img.xz - Flashed the downloaded OS image from the uSD onto the emmc:
dd if=ubuntu-22.04.03-preinstalled-server-arm64+roc-rk3328-cc.img of=/dev/mmcblk1 bs=1M - Shutdown the Renegade
sudo shutdown now - Powered down the Renegade
- Removed the uSD card
- Powered the Renegade up
- Watched it boot (faster) from the eMMC.
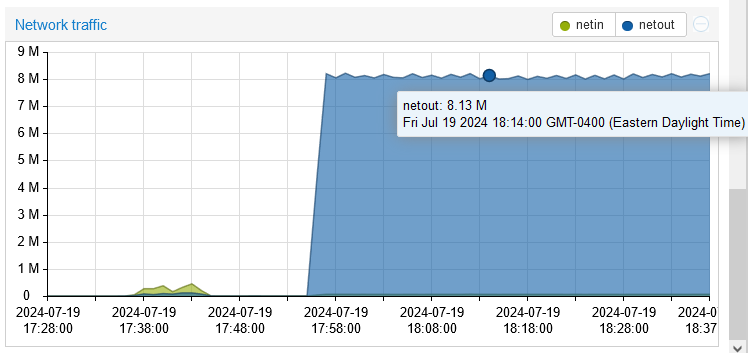
If you want to compare speed to your uSD card, this is what I get from the eMMC modules:
sudo hdparm -t /dev/mmcblk0

/dev/mmcblk0:
 Timing buffered disk reads: 378 MB in  3.02 seconds = 125.34 MB/sec
Note: one might ask, why spend around $100 on a computer that is significantly less powerful than a comparably priced compact x86 platform? The answer (for me) is two things: size and fan-less operation. Together these make it perfect for DIN-rail mounting and use in my test beds which are built around modular DIN-rail mounted components.
ISSUES
The Renegade always attempts to boot from the eMMC module if it is installed. This creates several problems and IMHO was a bad design decision choice by Libre along with their awful choice of 1.5Mbps for the serial debug console.
- Forcing you to boot from eMMC makes it hard to backup the module. In Linux, making an image backup generally requires booting from another media, unmounting the partition to be imaged, and performing the backup. That’s tough to do if you’re forced to boot from the device you want to backup.
- If your eMMC module gets hosed, you can’t force the Renegade to boot from a uSD card in order to re-flash the eMMC. This, of course, happened to me (twice) and the way to recover was to power up the unit with a uSD card installed and a second or two later, install (hot-plug) the eMMC module. This way the Renegade starts to boot from the uSD card, but still discovers the eMMC module later in the boot process so you can re-flash it. Obviously this is risky; it helps to have the eMMC connector pre-positioned over the socket, with the double-sided tape on the other end of the module holding it in place as shown above. Then you can just gently pry the connector out of the socket while leaving the module stuck to the board at the other end and perfectly positioned to just push down on the connector to snap it back in place.